DIY composting toilets are easy to construct and maintain. All you need are a few supplies and some basic building skills. In the event that you desire to live off the grid, a DIY composting toilet is an excellent option.
Table of Contents
How to Build a DIY Composting Toilet
Prior to beginning this DIY project, you must determine which set-up you will use since there are quite a few options available.
An eco-friendly clay urn or a 5-gallon plastic bucket can be used as the container.
You may also use a two-chamber model, which appears more standard. In this case, you alternate between the two chambers.
First, you use one until it is full, then you switch to the other. Depending on the bucket’s capacity, you should change the chamber as soon as it is full.
No matter whether you choose a toilet that mixes urine and feces (poop) or one that separates them, both have their own advantages and disadvantages.
The first method may require additional assistance to obtain the correct level of moisture. Nevertheless, it facilitates the process of defecating more smoothly.
If you opt for the second option, you will enjoy a drier mix, but you will have to exert more effort while swapping the buckets.
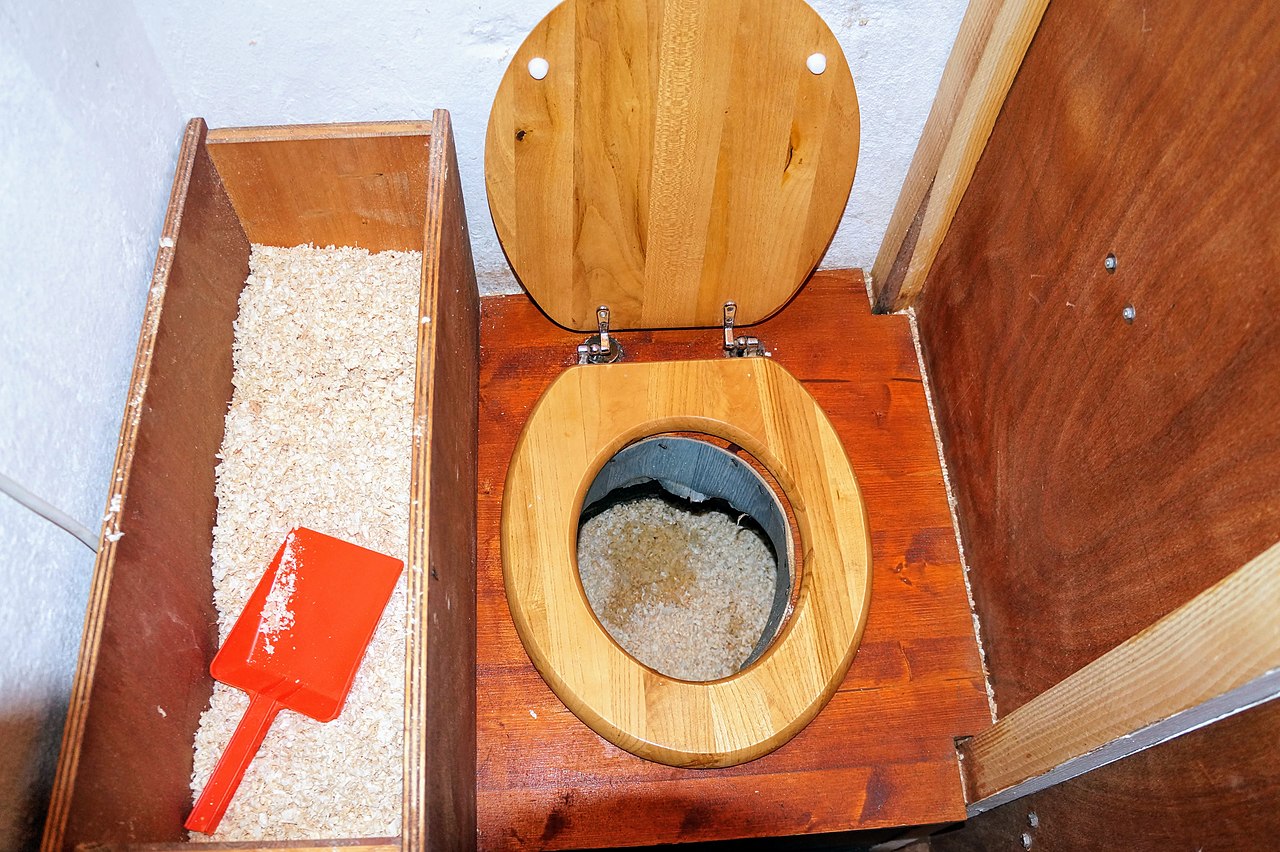
For the mixed system, you may use materials such as hay, straw, sawdust, and dry leaves to prepare your bucket. As a result, the toilet becomes less odorless and the decomposition process is accelerated.
Building a Mixed System Composting Toilet: step-by-step tutorial

Step 1. Prepare your materials
The following materials are required for the type of toilet we are constructing:
- 2 five-gallon buckets of equal height
- 1 large plywood
- 1 toilet seat hardware
- 4 2×4 planks of wood of equal height with the bucket
- 8 screws or nails
Ensure that the materials you choose are of exceptional quality and built to last for a long time.
2. Make a hole in the plywood
The next step will be to chisel out the shape of the bucket into the plywood. A hammer and chisel can be used.
- The first step is to place the bucket on the plywood and mark the circumference with a pencil.
- The circle should be used as a guide to saw a hole with a chisel and small hammer gently. Check the fit of the bucket by inserting it.
- Ensure that the hole is not too wide so that the bucket can sit firmly in the hole.
3. Make a hole in the toilet seat by drilling
Once the hole has been cut, gently insert the toilet seat hardware. Mark the location of the hole with a pencil.
The toilet seat hardware can be installed by drilling a small hole with a strong screwdriver. Ensure that the hole is not too wide in order to prevent the screw from becoming loose.
4. Make the plywood legs
Your toilet is now ready for a standing. Each 2 x 4 wood should be placed beneath the drilled hole and secured with screws at the four corners of the plywood.
By doing so, it will be able to stand on its own four legs.
5. Place the frame on its legs
Test the stability of the frame by placing it firmly on the floor. If any of the legs appear to be shaking, check the screws to determine if there is any additional spacing.
If you notice any spaces, you can use a small piece of wood as a shock.
6. The toilet seat needs to be installed
Using screws, attach the toilet seat to the drilled holes. Make sure it is well-fitted in order to prevent the screw from becoming loose within a short period of time.
7. Fill the bucket with absorbents
Lastly, add a few inches of absorbent materials to the bucket. Place the bucket in a convenient location, and then add your preferred materials, such as dried leaves or wood ash.
Congratulations, you have now successfully constructed a composting toilet.
Types of DIY Composting Toilets
There are three types of systems:
- self-contained
- split/centralized
- bucket system
Both break down waste, but they work differently and have different requirements.
Self-Contained System
Generally, a self-contained compost toilet system consists of a small toilet with a detachable tank and a liquid drain for removing waste.
Self-contained systems are sometimes portable, making them ideal for camping trips or boat rides, as well as for use in a workshop or garage where plumbing cannot reach.
The entire composting process takes place within the toilet, thus the name. The manure tank should be removed once it has reached its full capacity and emptied.
A freshwater tank or supply line is sometimes included with these systems in order to flush waste into the chamber below.
Split System or Central System
Composting toilets that use a split or central system are similar to traditional toilets. They are connected to a system of pipes that transport waste to a central composting drum, hopper, or tank.
The hopper churns the waste, allowing it to decompose while also venting the odorless gases. Similarly to self-contained toilets, when the tank fills, it should be emptied.
Due to the need for a hopper, split compost toilets are considerably more expensive than self-contained composters.
Having hoppers is an advantage since they can hold a greater volume of compost. Although they can provide an attractive solution for those living off-grid or in an environmentally conscious environment, they are not recommended for people who wish to move from one place to another.
The Bucket System
If you are looking for a portable composting toilet, bucket toilets are a great option. Additionally, they can also be used at home as a more affordable alternative to composting toilets.
They are based on a simple concept. You use the bucket to go to the toilet, where the waste is collected and stored until it is ready to be composted. The system is very similar to modern systems; however, it does not include any additional features such as fans or heaters.
In order to prevent odors, you use what is known as a covering material.
Why Do it?
There are several reasons for going off-grid with a composting outhouse humanure system. You will not only save money on energy and water, but you will also be able to defecate safely, sustainably, and environmentally friendly. Furthermore, you will be able to generate a useful by-product without having to deal with a foul odor.
One of the things that makes it particularly interesting is that it can be constructed relatively easily and does not require a construction certification, so anyone can do it.
An environmentally friendly composting toilet may be the solution you are looking for if you are a homesteader, grid cabin owner, tiny home owner, or wilderness enthusiast who lives off the grid and does not have a septic system or septic tank, or if your mobile home, camper, or tiny house lacks the plumbing to support a traditional flushing toilet.
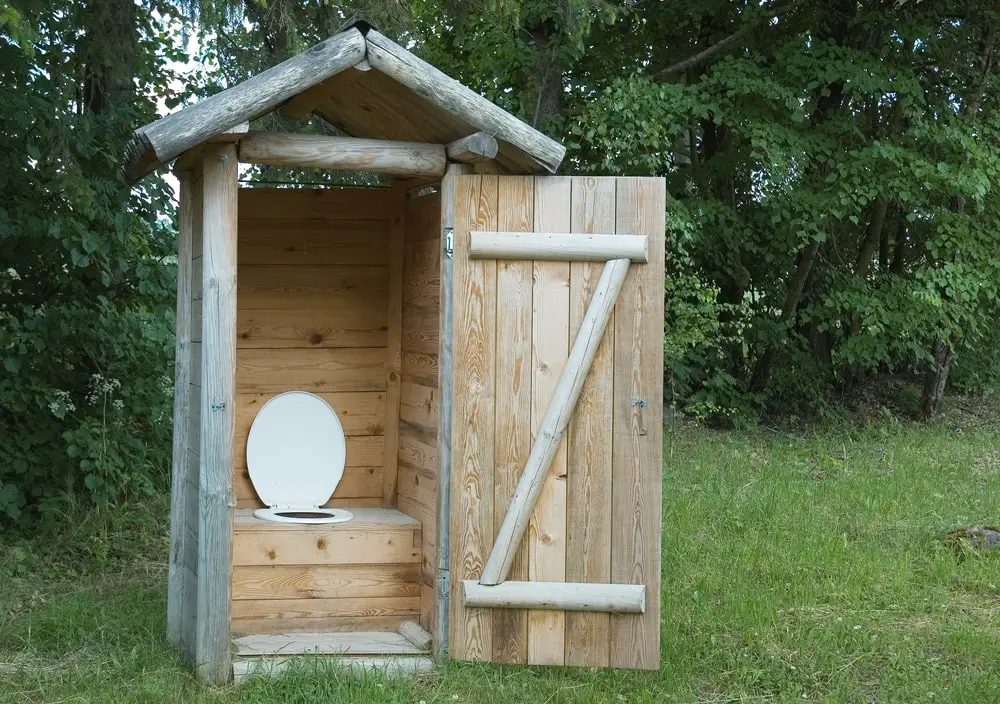
An outhouse is a toilet without plumbing, which often emits a foul odor. To qualify an outhouse, u think latrine, toilet, or privy. In contrast, a composting toilet is a system for defecating that converts human waste into compost under aerobic conditions.
Under the conditions of an oxygen-rich environment, aerobic bacteria decompose waste piles in compost toilets.
Using dry materials such as wood ash, sawdust, and crushed leaves, it releases high temperatures to destroy pathogens.
Compost Toilet Useful Tips
1. Add coffee grinds
Composting toilets should not smell, but you can make them smell nice by adding coffee grinds.
2. Keep a brush near the toilet
It is difficult to place sawdust in a composting toilet without dropping a few flakes on the seat. Then, when you sit down, the sawdust gets stuck to your backside, and you end up with sawdust in your pants the rest of the day.
You can prevent this problem by placing a brush next to your toilet. Every time you go, brush any stray pieces of sawdust through the hole.
3. Add composting worms
You can speed up the composting process by adding worms to your compost. The practice is known as vermiculture.
Worms consume organic waste, breaking it down and converting it into fertilizer much faster than it would do on its own.
It is important not to put any old worm into the container simply. Obtain some compost worms, usually called red worms or red wrigglers.
4. Use pine shavings
The cost of pine shavings may be less than that of other wood shavings. In addition, they are more effective and require fewer of them.
Please ensure that they are fine enough to perform the task.
5. Get free wood shavings from woodworkers or a lumber yard
Why should you pay for wood shavings when you can obtain them for free? Make a deal with a local woodworker or lumber yard so that you can use their wood shavings for your toilet every so often.
Make sure that the shavings are fine enough to seal in the smell (if they are too coarse, they will not work as well).
6. Use more sawdust
If your composting toilet smells after you pee, simply add more sawdust. You should also add a few inches to the bottom of the toilet before using it.
7. Read The Humanure Handbook
You can find all the information you need about composting toilets by reading The Humanure Handbook by Joseph Jenkins.
His book is a fascinating read, and he is the absolute authority on the subject.

