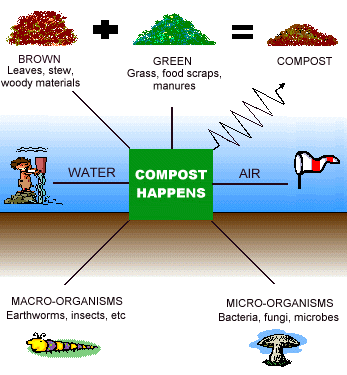
Begin with a layer of brown materials of about six inches at the bottom of your compost bin. On top of the brown material, add a 3-4 inch layer of food waste (green compost material). Then add another layer of brown waste, six inches thick. Now that you've laid a nice foundation, the next step is layering the materials consistently.
If you are interested in DIY composting or have basic composting knowledge, you should already know that the essential thing you need to understand is how to layer your compost properly.
Creating a compost bin using layers is an old method that has withstood the test of time.
The process is analogous to making a “compost sandwich” from different layers of organic materials.
When you layer your compost, you are creating just the right environment for bacteria responsible for converting organic matter to compost.
“Layering” not only makes your composting process operate more easily. It also gives a convenient mechanism for guaranteeing the correct ratio of green materials to brown materials.
For the best possible results when composting, follow these step-by-step instructions on how to layer a compost bin.
Table of Contents
Why a Compost Needs Layering
There is no question that layering has plenty of advantages. The following factors are usually responsible for a compost pile’s thoroughness and decomposition rate:
- Carbon to nitrogen ratio
- Airflow or aeration
- Volume
- Moisture
A more even distribution of brown materials (carbon) and green materials (nitrogen) makes things simpler for the critters responsible for decomposition. Usually, they require nitrogen energy for decomposing carbons.
When you have a good compost mix, you increase the chances for thorough decomposition. That is because whenever you turn the compost, you remix the less decomposed organic materials, which otherwise might have escaped decomposition.
Volume applies more to hot composting because when you have a large pile, you have access to materials and the environment that increase the population of organisms, which speeds up the composting process.

What Are the Layers Used When Composting
The layers farmers use when composting are often organic materials that can be classified as either green or brown materials.
You want to apply layers of greens and browns in appropriate ratios to create the black gold. Otherwise, your pile may become waterlogged if you add too many green materials. But adding a lot of dry brown material will cause your compost bin to dry out.
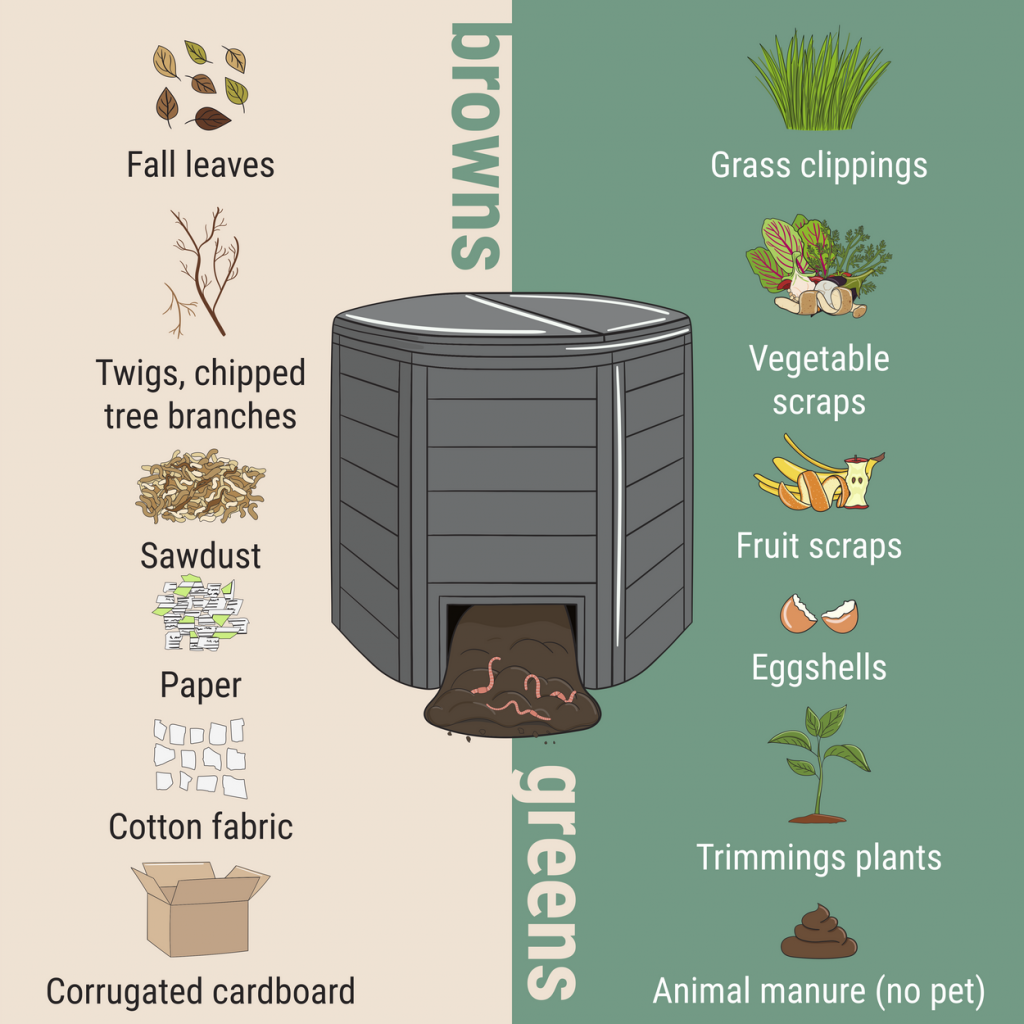
Most gardeners think that layers are just compostable kitchen waste. There are green materials like grass clippings and food scraps. There are also brown materials like wood chips, shredded cardboard, or dry leaves.
But there’s more to it than meets the eye.
The first layer of your compost bin usually addresses two concerns:
- Drainage
- Availability of beneficial microorganisms
However, it all starts from the location of your compost bin.
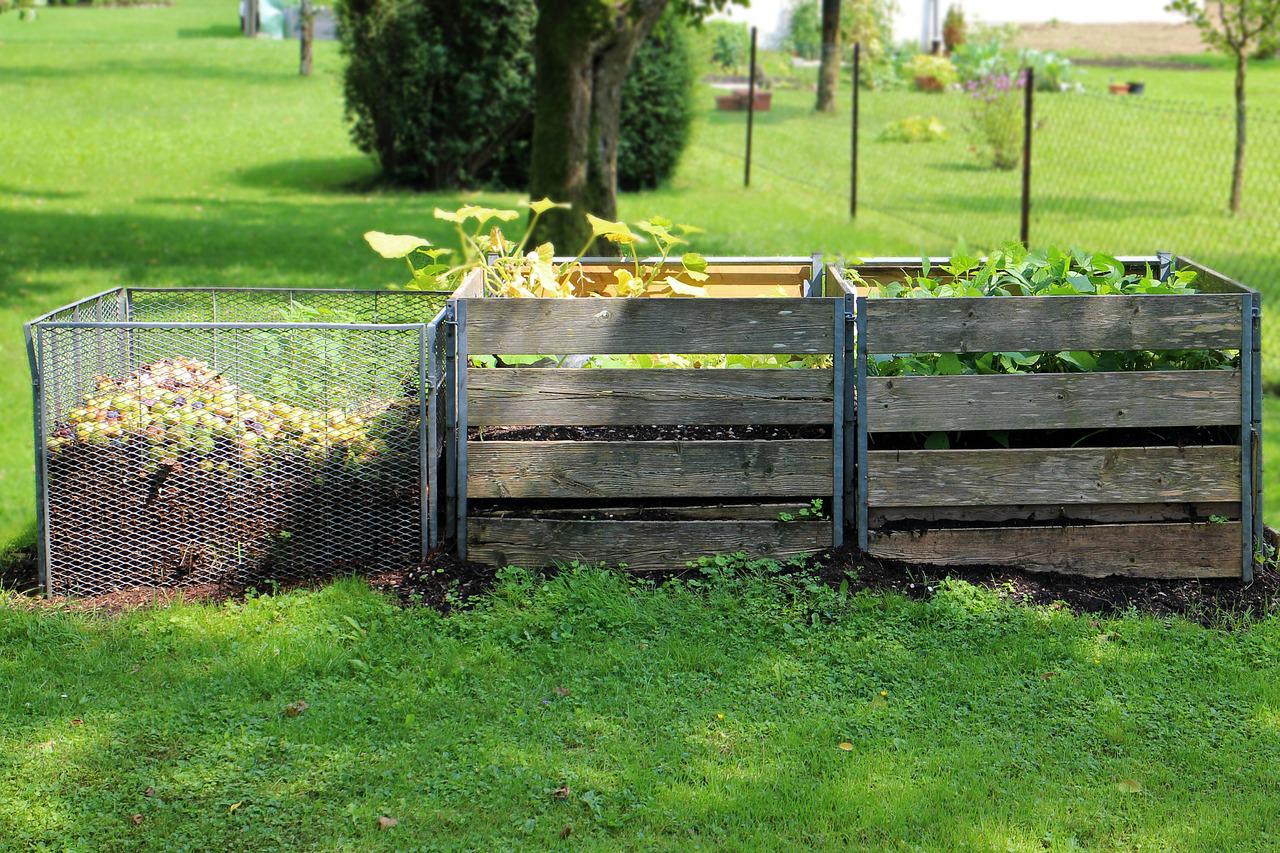
You’ll need to look for an area in your backyard with unobstructed access to the ground. That helps drainage and brings the compost into direct contact with the worms, microbes, and other soil microorganisms.
Before we proceed further, let us look at the different composting materials.

1. Green Composting Materials
You can use the following green materials in your compost piles:
- Kitchen scraps
- Vegetable scraps
- Eggshells
- Manure
- Fruit scraps
- Coffee grounds
- Grass clippings
2. Brown composting materials
As for brown material, we recommend:
- Dry leaves
- Sawdust
- Shredded paper
- Cardboard
- Straw or hay
- Tree branches
- Bark
- Pine needles
- Coffee filters
- Newspaper
- Cornstalks and cobs
3. Composting Materials to Avoid
Some animal products, including grease, oil, dairy products, meat, or fat trimmings, are red flags .
It would be best if you did not use them because they decompose slowly. They also attract rats and other pesky pests. Furthermore, they emit a foul smell during decomposition.
How to Layer Your Compost Correctly
Follow the steps below to layer your compost correctly:
1. Start with a base layer of twigs
The first item you want to place inside is a layer consisting of coarse material to encourage drainage. That could be a couple of broken sticks or some branches.
2. Decide on the location of your composter
Your compost should ideally be exposed to the sun. Ensure it is leveled and has good drainage.
Most importantly, it should be easy to access throughout the entire year. Pick a spot close to your house so you can get there quickly.
3. Get your brown waste source
Grass clippings, shredded newspaper, dried leaves, sawdust, cardboard egg cartons, bark, and straw are great sources of brown waste.
4. Collect green composting materials
Garden waste and food scraps like used eggshells, tea bags, coffee grounds, and flowers are classified under “green waste.”
You can use the small countertop compost bins for collecting and storing the green wastes. These bins will keep them safe till your compost pit is ready.
5. Layering brown and green materials
Begin with a layer of brown materials of about six inches at the bottom of your compost bin. You want to leave six inches between the sides of your bin and the brown waste.
On top of the brown material, add a 3-4 inch layer of food waste. Then add another layer of brown waste, six inches thick.
This second layer should cover the food waste and stretch down into the gap between the bin walls and the bottom layer. That helps prevent any stench from permeating and sealing off the food.
Now that you’ve laid a nice foundation, the next step is layering the materials consistently throughout the season, creating a type of food waste and brown manure mix until your compost pile is full.
6. Sustain your compost
Check your compost bin every once in a while-each time adding new materials given that you have ideally positioned it in a spot that is easy to access.
Also, make sure you turn your compost regularly.
7. Putting your compost to use
After an initial start-up period of six months, the final compost should be black and crumbly and ready to use.
The finished compost is below the bin, and you can now use it as a soil amendment.
Do You Have to Layer Your Compost?
By layering the compost, you will provide an ideal setting for bacteria responsible for decomposing organic matter to perform their work. That helps in making the composting process run smoothly.
Layering also ensures the right balance between brown and green materials.
Remember that green waste is characterized by its high moisture content and rapid decomposition. That can lead to compaction, which causes air to be forced out.
Adding layers of brown materials creates structure and air spaces, allowing oxygen to circulate.
Why Is Your Compost Too Wet?
When you have soggy compost, that signifies poor brown and green material balance.
Your compost will be too wet if there are more green and fewer brown materials.
Green materials are nitrogen-rich, so mixing them with carbon-rich browns will help eliminate the excess moisture.
If the moisture content of your compost pile is too high, you want to dig it out, stir the components of the heap to add more air, and then stack it back up.
It is also essential to incorporate dry materials in the mixture to balance browns and greens, enhance drainage, and stop the compost from being clogged up again.
Composting ingredients like shredded prunings, straw, cardboard, sawdust, and cardboard that has been ripped into smaller bits will result in the formation of channels inside the compost.
How to Measure Compost Moisture Level
The moisture content for your compost should run from 40% to 60%. But you can only measure the moisture content using the squeeze test.
The squeeze test involves picking a handful of the compost and squeezing it. You should expect three outcomes:
- You see little drops of water. That suggests moderate water content.
- Lots of water – indicating that your compost is too soggy.
- No water – means the compost is too dry.

