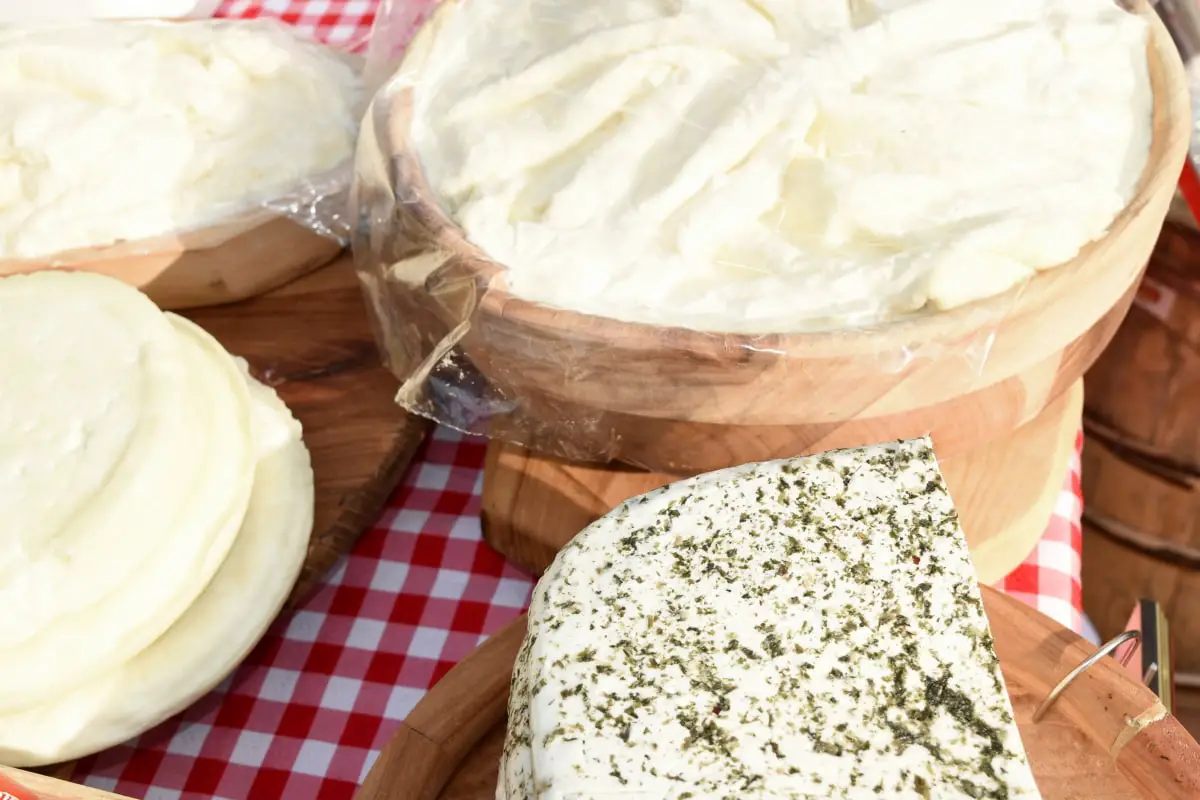
Yes, you can. However, you need to consider some crucial factors before adding cheese to a compost bin, such as the green-brown material ratio, the composting method, and other factors.
For most farmers, the answer to: can you compost cheese? is always a direct no. But that doesn’t mean you can’t. Cheese is organic; you can compost it.
Yes, there are good reasons why you shouldn’t put cheese in compost; it can attract unwanted animals or make the compost stink terribly.
However, these downsides can be avoided through proper composting.
Table of Contents
Why Some Say Not To Compost Cheese
There are three reasons why more farmers discourage adding cheese to a compost pile:
- Cheese as a dairy product attracts pests and unwanted animals to the compost heap.
- Cheese has a low material structure and high-fat content
- Worms can’t digest cheese. Therefore, it can’t be used in vermicomposting.
The high moisture content combined with the cheese’s high-fat content clumps the composting material with a waterproof coat. Reducing aeration and encouraging anaerobic conditions make the compost stink.
Moreover, the anaerobic conditions make it hard for microbes to break down the compost – slowing down the decomposition process.
However, this isn’t to discourage you. On the contrary, the above points only highlight the obstacles you need to be aware of.
Check our video below to find out how to compost cheese and avoid common issues related to adding dairy & cheese to your compost heap.
Does Cheese Decompose?
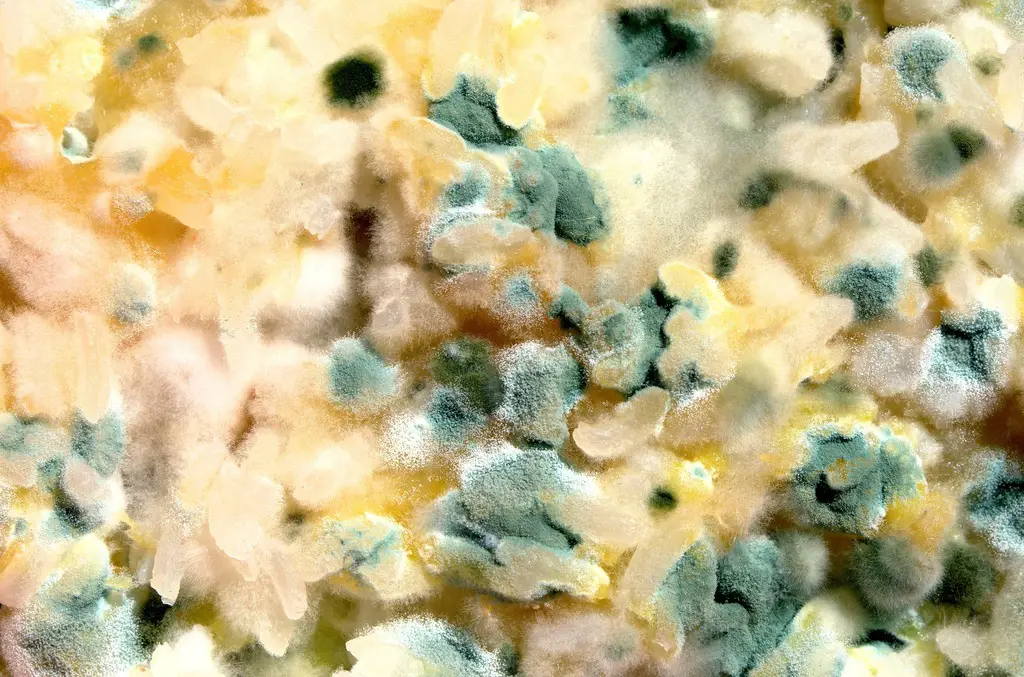
Cheese is organic and therefore biodegradable. Molding is actually a sign to show a cheese is decomposing.
Unwaxed cheese starts to mold after 2 weeks if left open on a shelf. However, cheese can last even 3 weeks without molding if it’s in a freezer.
The rate of decomposing depends on the following factors:
- The type of cheese. Soft cheese like Swiss decomposes faster than the hard ones like the cheddar cheese. Cheddar cheese can last up to 6 months under proper conditions.
- The moisture content in a cheese
- The temperature. Low temperatures are not conducive for microorganisms. A cheese under low temperatures takes time to decompose.
How Long Does It Take For Cheese To Decompose?
Cheese starts to decompose after 2 weeks once the protective cheese wax is removed.
What About Cheese Wax? Does It Decompose?
Yes, wax cheese decomposes. However, it can last over 25 years before decomposing; that’s why it’s used as a cheese preservative. The wax is made by processing microcrystalline waxes with paraffin.
Even when cut into small chunks, cheese still takes a year to decompose. Therefore, remove all the cheese wax in your backyard compost bin since it adds no value.
Instead of throwing the wax away, use it on your camp tours. Cheese wax makes a good fire fuel.
Is Moldy Cheese OK To Compost?
Yes, it’s okay to add moldy cheese into your compost heap. But there are disadvantages; a moldy cheese is still cheese.
Even though a moldy cheese indicates the presence of bacteria, the decomposition process is still slow. This is because the bacteria are anaerobic; these bacteria not only slow down the decomposing process but also cause the compost to have a terrible pungent smell.
If you’re doing traditional composting, it’s okay to add moldy cheese and food scraps into the bin. However, only consider adding adequate dry materials such as dry grass clippings or sawdust at the bin’s base as nesting for the cheese.
The brown material is a bulking agent that helps absorb excess moisture from the moldy cheese to facilitate decomposition.

The Best Ways To Compost Cheese
Composting cheese is an easy DIY job.
There are three ways you can compost cheese:
- Traditional composting
- Bokashi method
- Electric composting
1. Traditional/Hot Composting
It’s also known as hot composting. The method assures your compost will be free of pathogens. This is because the pathogens are destroyed by the high heat generated as the organic materials decompose.
What you need
- Green materials. They include vegetable peels, green grass clippings, annual weeds, and eggshells, to name a few. They provide your garden soil with nitrogen and soil microbes with ammo acid and protein.
- Brown materials. They’re dry materials that act as a bulking agent. They’re a good source of carbohydrates and carbon. They include; sawdust, coffee filters, and dry leaves.
- A composting bin. It should be big, about 1 m square wide. Preferably, let the bin be round because it’s easier to mix the compost. I’ll show you how.
- Water to moisturize the compost heap.
Procedure
Step 1.
Choose a dry place with enough sunlight to position the compost bin. Let the place be far from your house; cheese compost stinks. Also, it should be near a water source.
Step 2.
Put a base layer of brown materials in the bin. Each layer should have a thickness of about 10-15 cm.
Step 3.
Slice the cheese into small pieces and place it at the center, on top of the brown material. The small pieces increase the decomposing speed.
Step 4.
Cover the cheese with a layer of green materials and food scraps in the bin.
Step 5.
Repeat steps 2-3 until the bin is full. Add water when necessary to ensure the compost is moisturized.
Step 6.
Mix the compost. If your bin is round, roll it back and forth to mix the materials or use a plunger.
Step 7.
Seal up the bin for 6-8 weeks. Once a week, turn the compost for aeration to speed up the decomposition process. Microbes need oxygen to break the materials down. Also, sprinkle water if the compost is dry.
Sealing the compost is important. It helps prevent scavenging animals from spoiling the compost in search of smelly cheese. Once the 8 weeks are over, the compost is ready.
Note that the compost bin should be large to generate high temperatures at the center to melt the cheese and decompose it.
2. Bokashi Method
The bokashi composting method is quite different from traditional composting and vermicomposting. First, the decomposition process is anaerobic, meaning oxygen is not needed.
What’s more, with bokashi composting, it only takes 10 days for the cheese compost to be ready. Plus, the method doesn’t require much spacing as traditional composting.
What you need:
- A bokashi bucket
- A bag of bokashi bran
You can get the two at the cost of 68 dollars on Amazon.
Procedure
Step 1.
Take the cheese and other food scraps and put them into the bokashi bucket.
If the materials have excess water, allow it to settle, then drain the water at the bucket’s base.
Step 2.
Add a layer of bokashi bran on top of the materials. Then add more cheese and food scraps. Repeat the process.
Step 3.
Press down the materials to compact them and remove air pockets between the layers.
Step 4.
Seal the bucket and store it for 10 days. You don’t need to open the lid or turn the composting materials.
Step 5.
After the 10 days, drain the accumulating liquid and use it as fertilizer for your garden and potted plants.
Step 6.
Dig a trench or holes, 30-35 cm deep, in your garden, pour in the fermented food scraps, and cover with soil. Microorganisms will quickly break them down into nutritious compost.
Rinse the bucket with water, and it’s ready for the next composting. You don’t need a detergent.
Maintenance
If the mixture is releasing an unbearable smell, or there are blue and black fungi around the bokashi bucket, then do the following;
- If the bucket is under direct sunlight, move it to a cooler place
- Add bran to the mixture
- Press down the mixture to clear air pockets in between the layers
- Ensure the lid is tightly sealed
- Drain the excess liquid
3. Electric Composting
Think of an indoor bucket that converts kitchen waste, including dairy products, into manure within 5 hours! That is the power of the electric composter. It’s designed to compost food scraps by drying, chopping, aerating, and cooling the refuse.
Plus, you need not worry about a foul odor. The composter fans the air through carbon filters located at the back of the bin to trap any odor.
How Does It Work?
An electric composter works by performing 3 functions;
- Heating. The electric bin dries the kitchen refuse by rising its temperatures to about 160F and, simultaneously, aerating the mixture to prevent accumulations of methane. Additionally, the heat sterilizes the refuse by killing all pathogens, although it also kills the decomposing microbes.
- Grinding. Once the refuse has dried up, the composter grinds it into dust-like particles, which are easy to mix with soil. The grinding also helps speed up the decomposing process once the compost is mixed with soil.
- Cooling. The composter is fitted with a cooling system that lowers the compost’s heat to room temperature. So, unlike traditional or bokashi composting, you have your compost dry and clean.
If you don’t have one, get yourself an electric composter, it’s the easiest and fastest way to compost cheese.
However, it is the most expensive of the three composting methods. You can get one at the cost of $349 on Amazon.
When Should You Compost Cheese?
There’s no specific time or condition needed to compost cheese. Whether the cheese is moldy or fresh, it’s fit to compost it.
You only need to watch the quantity of cheese you add to your compost. Too much of it will attract unwanted animals to the compost pile, even when mixed with the soil.
Cheese shouldn’t exceed 5% of the pile.
Also, remember cheese has high-fat content, which in large quantity clumps the compost material resulting in an anaerobic decomposition and a slow decomposition process.
Can Cheese Be Used As Fertilizer?
You might want to reconsider before topping your plants with cheese. Yes, cheese is made from milk containing lactalbumin and lactose, which helps build the soil’s ability to retain water.
However, cheese needs to be processed first for your soil to benefit from it. Also, cheese attracts pests and rodents, which can damage plants.
It’s best to mix the cheese in your compost heap and allow it first to cook into useful compost.

