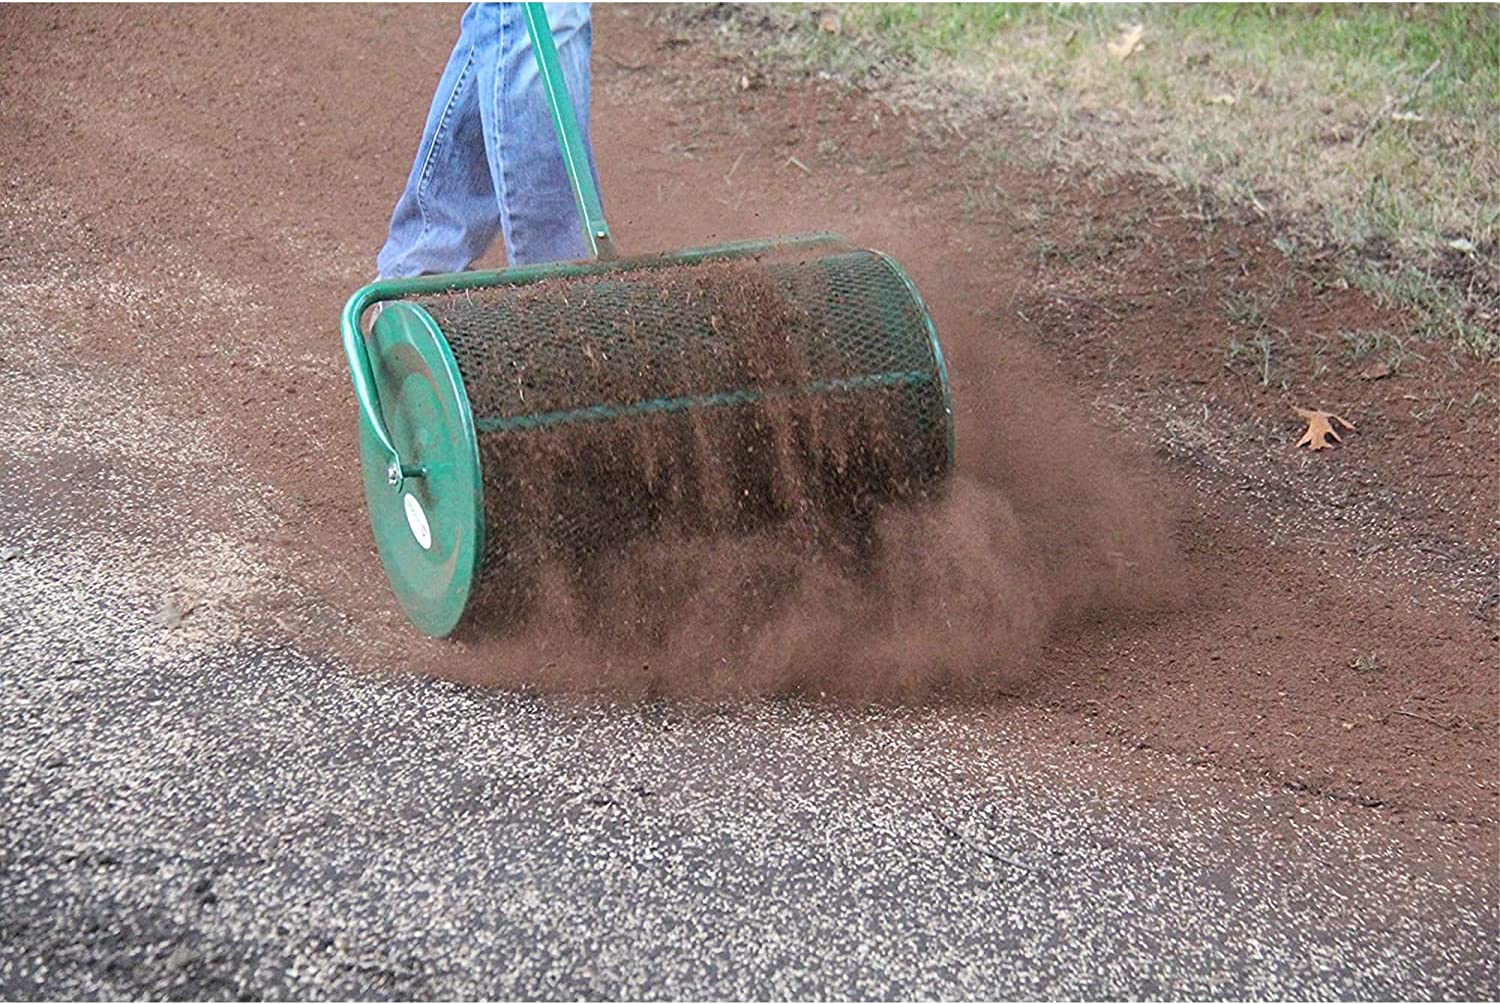
Making your own spreader gives you the flexibility to adapt it to the demands of your landscape. Compared to some expensive compost spreaders offered online, it is also inexpensive. In other words, a DIY spreader will save you money.
However, Amazon is still a wonderful place to find discounts. The Landzie Compost & Peat Moss Spreader, for instance.
But why buy one when you have the resources, a few willing hands to get their hands filthy, and this post to help you?
Making your own compost spreader is simple. It has a simple structure, and it’s a fun project to engage your little boys.
Table of Contents
What you need
- A 4 by 2 ft plywood or MDF (1/2 inch thin)
- 4- PVC 90°elbows (1/2 inch)
- 1 PVC pipe 10ft
- Staples
- A 33 ft long cage wire, 1 by 1/2 inch plug. You can get a bigger gauge for compost, but if you’re spreading peat moss, this one will do.
- 3 (2 by 2 inches) wood planks, 30 inches long wood screws
- Staple gun, driller
The measurements will depend on the size of the spreader you want. The above measurement is for a 31 inches spreader.
Procedure
Step 1. Cut the circles.
Mark out two circles on the plywood, 10 ft radius, and cut them.
Step 2. Cut the agitators.
The three wood planks help to agitate the compost as the spreader turns and, at the same time, act as the support frames.
Since we’re making a 31 inches compost sifter, the wood planks will be 30 inches, and the 1-inch will be of the two plywood wheels (1/2 inch each).
Step 3. Set up the frame.
- Mark on the circumference of each wheel three points, 120° angle from the center.
- If it’s tricky working with a protractor, print this image here.
- Place the paper on the wheels, extend the lines to the circumference, and mark the three points.
- Drill the screw holes at the marked points on each wheel. The holes should be 2 1/2 inches from the wheels’ circumference.
- Take one of the wheels and fit the three wood planks with the wood screws.
- Fit the next wheel on the other side of the wood planks (you may need an extra hand for this).
- Once you’re through with the frame, it should be able to roll freely on the floor.
Step 4. Fit the wire gauge.
- The wire should be enough to overlay the frame. The measurement above will leave a margin of one inch on each side.
- Overlay the wire gauge on the frame as you staple it around the wheels.
- Ensure the wire is well stretched over the wheels and fastened to prevent the compost from leaking.
Step 5. Fit the PVC pipes.
- Drill a hole at the center of the wheels where the PVC pipe will pass. The holes should be large enough for the PVC to go through and the spreader to turn without resistance.
- Cut the pipe, fix it through and glue the elbows. The pipe should be long enough to go through the wheels (as the axle) and leave a margin of 1/2 inch on each side to fit the PVC 90°elbows.
- If you’re wondering which glue to use, consider one of the PVC cement glue. For example, Christy’s Handy Pack; it’s red-hot blue, and the is trimmer purple. You can find it on Amazon.
- Remember to align the elbows before permanently fitting them to the axle pipe.
Step 6. Fit the handle.
- Cut two pipes (42 inches) and glue them to the elbows on each side of the wheels.
- Fit the remaining two elbows on the handles, and connect them with an extra crossing pipe.
Step 7. Cut the door.
This is the last step.
Cut an opening about 28 inches wide by 1 ft. That’s where the compost or the peat moss will go through.
Cut a bigger wire mesh for the door that’ll overlap the opening, and use wires to cramp the door after adding the compost.
See, it’s something you can do it yourself.
However, if the instructions are hard to follow, below a full video of the whole process.
DIY Mulch Spreader
The process of building a top dressing spreader is similar to that of making compost or a peat moss spreader. The difference is in the kind of wire gauge you’ll be using. The same applies to a manure spreader.
Follow the steps above on how to build a compost DIY compost spreader; only change the wire gauge to your preferred size.
However, for efficiency and broader spreading, avoid wider wire gauges.
For better soil amendment, a mulch spreader helps you cover the topsoil with a consistent layer of mulch.
Tips on a Maintaining Compost Spreader
For a spreader with a wooden frame, avoid using it for spreading compost with high moisture content. Or using the spreader during the rainy season because the excess moisture may cause the wood to rot.
However, if you’ll still use it, make sure to leave it out under the sun to dry before storing it in a dry place.

